When it comes to life drawing, the only experience I had previous to my work this year was a handful of introductory classes in my foundation degree back in 2016. I have found this year to be a lot more in-depth, informative and enjoyable. I am going to discuss my struggles in the beginning and how I have learnt from my mistakes in order to improve my work. Furthermore, I will showcase the positive effect the reading material has had on my understanding of perspective. Lastly, reflecting on homework that was set each week and showcasing critiques of each piece of work.
 |
| Foundation Degree Life drawing class. |
Introduction class.
The First week of life drawing was taken by Connan Fitzpatick as Mike was unable to attend. It was an introduction class to perspective drawing. He created his own set up using random items for around the room and then got us to draw it in various location. I found this quite difficult to get the angle of the drawing correct as everything was positioned at a hight. Just like in
Chapter 4 Why appearance differs from reality - By Joseph D'Amelio, Connan mentions how the appearance of the plank of wood seems to be getting smaller and this was my main struggle getting the scale and perspective right with regards to the plank.
We then all lined up by the window while Connan drew several rectangles on the glass, in order to demonstrate to us the different perspective you can get when a whole view has been narrowed down into a frame. Lastly, we were asked to memorise the set up and then draw it in 30 seconds without looking back at what you had previously drew. This task was quite difficult but it really helped me analyse the objects beforehand to help recreate the scene.
Connan set us the task of observing people in the real world, how they move and what certain characteristics to they have to make them stand out. He wanted us to sit somewhere public and select a few people to draw. I didn't really enjoy this task as I'm not very confident at drawing people as is and it was even harder as they're constantly moving. My location of choice was the train station - I can see now that the scale and proportions of these sketches are wrong as I didn't map out what I was going to draw first.
Week 2&3:
Basic shapes and Line of action.
In the beginning I was very stiff when holding the conte stick, this caused me to feel uncomfortable when using it and resulted in harsh line in my work. In the second week we got to draw a couple of our class mates. When being timed for a 5 minute pose, I originally thought I had to get every detail of the person on paper but Mike went on to tell us about finding the line of action and then create your basic shapes while using s and c curves. This method made me analyse the person before I start drawing.
 |
| First Attempt. |
The homework was to create a horizon line and have various cubes float through space. This benefitted greatly me as I really struggle with perspective. To help me with the understanding of perspective I investigated George Adolphus eBook Theory and Practice of Perspective. It was here were I discovered a great deal about the point of sight, the horizon and the point of distance. This helped when drawing the cubes although it was tricky to begin with I enjoyed drawing them.
Winnie The Pooh:
When I first drew Winnie I didn't use structure lines after doing the rotation. This would of helped me with the scale as he is three heads high. I also needed to get used to using structure lines when drawing and not just going straight into to detail as it make for a more accurate image.
 |
Winnie the pooh first attempt.
|
I moved forward by recreating Winnie the pooh i various poses now using structure lines. I preferred it this time round as my sketch was almost mapped out for me making it easier to draw Pooh on top.
 |
| Second attempt using structure lines. |
Week 4&5:
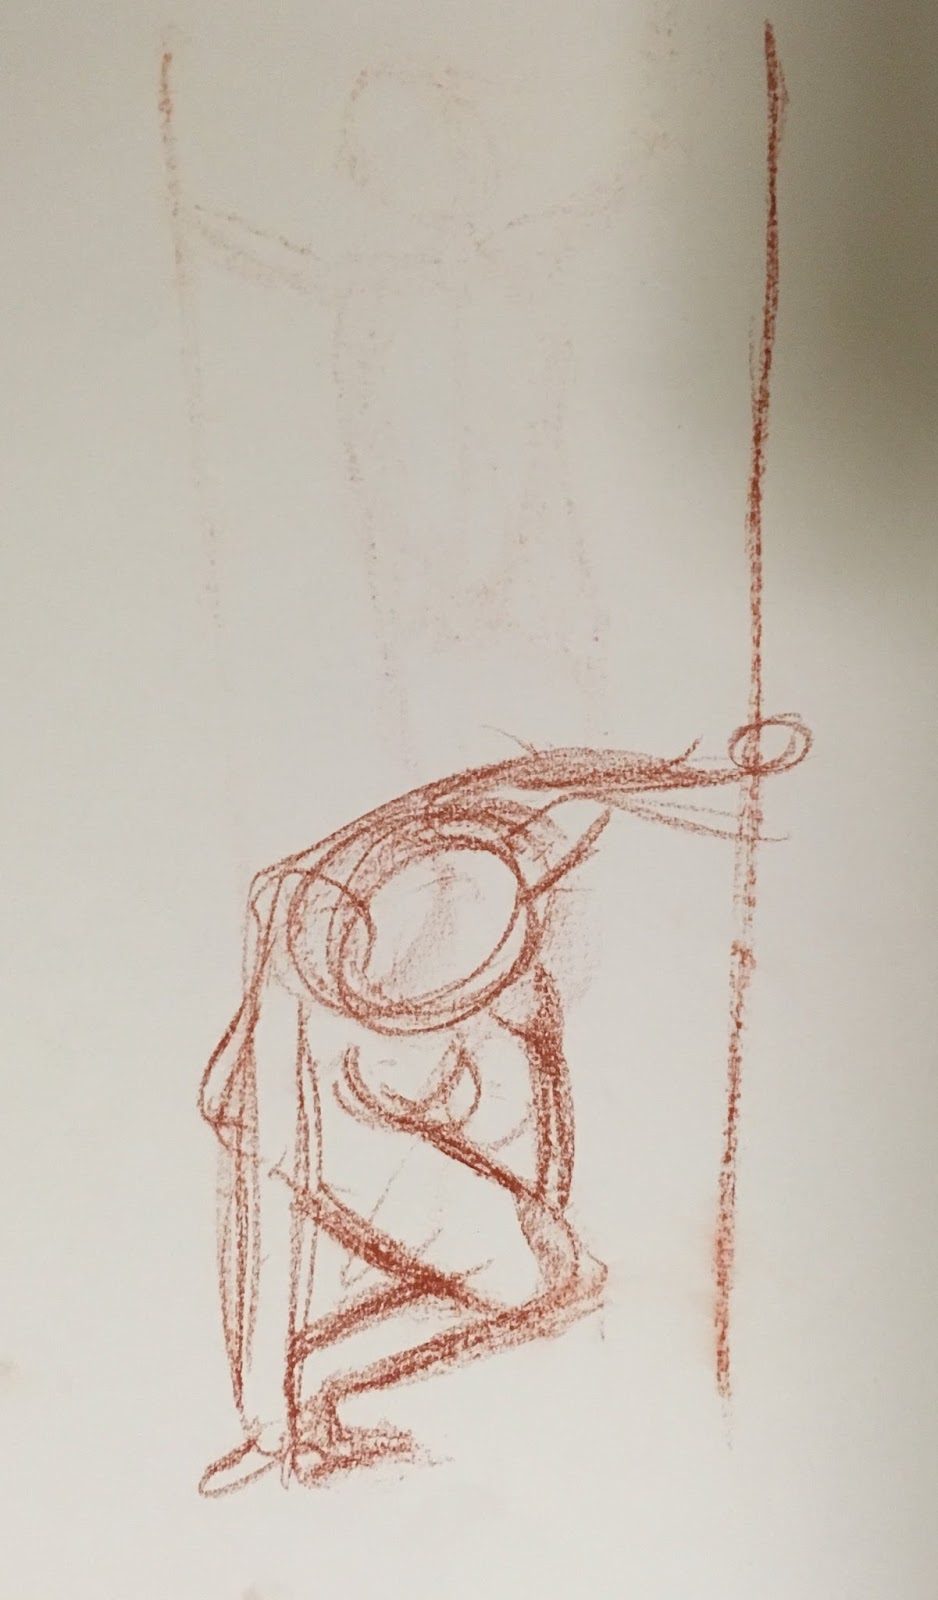
The forth week was hard as I was still struggling with perspective in terms of imaging the life model inside a box as this would help in terms of proportions and placement. A section in White - Perspective, A Guide for Artists helped me visualise something inside a box although these diagram looks very complex it makes it quite clear.


I didn't find the superman head rotation as difficult as I kept the thought of his head being the constant shape of a cylinder throughout the process which was very helpful.
A method in class that I have found really works for me was being told to stand at arms length from your page and allow my arm and wrist do all the work. Furthermore, mapping out what mark or line you are going to make next in your head and hovering back and forth, shadowing over the place your about draw before you actually commit to it - This allows for less mistakes and a clearer image.


Light source home work:
This was hard in terms of making it look realistic finding is form and natural shadow. I feel this task went well for me however the sphere with the large shadow was done incorrectly as Mike pointed out, the shadow should have eventually came to a point.

 |
| Incorrect. |
Week 6&7:
Quick warm up poses:


It was here were we started looking at form and how light effects the look of the body. I was shown a new method of using the conte stick by leaning slightly heavier on the edge and brushing it to the side to help add form with out using hardly any lines.
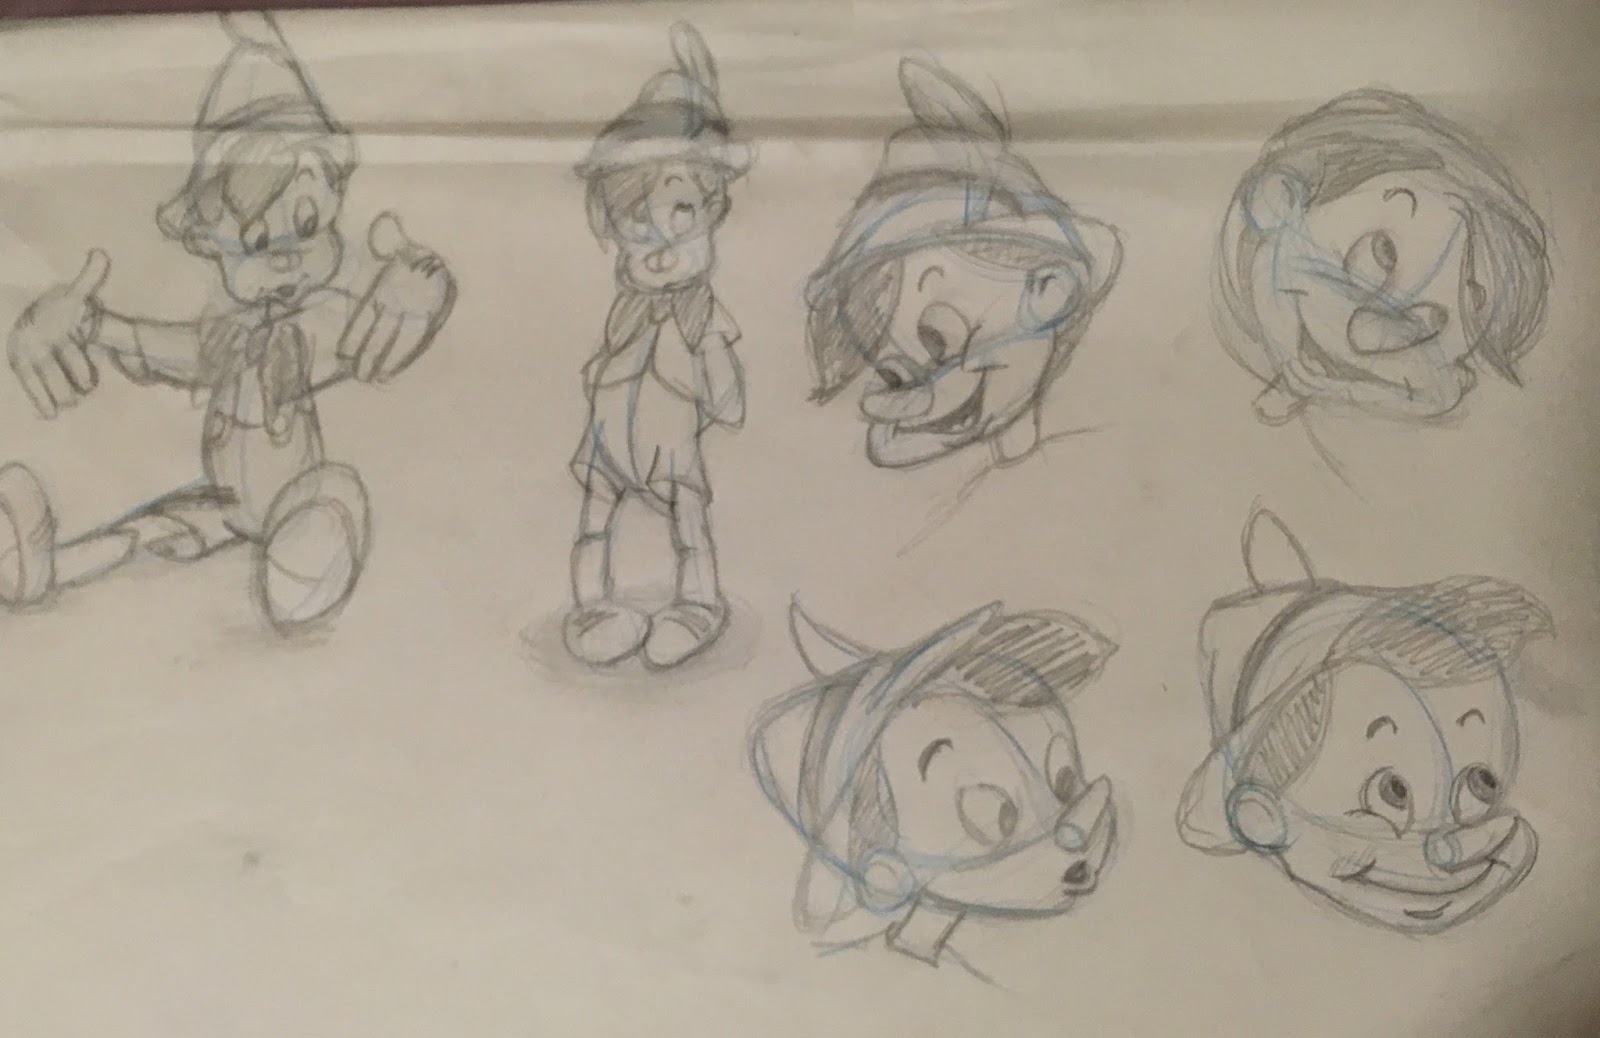
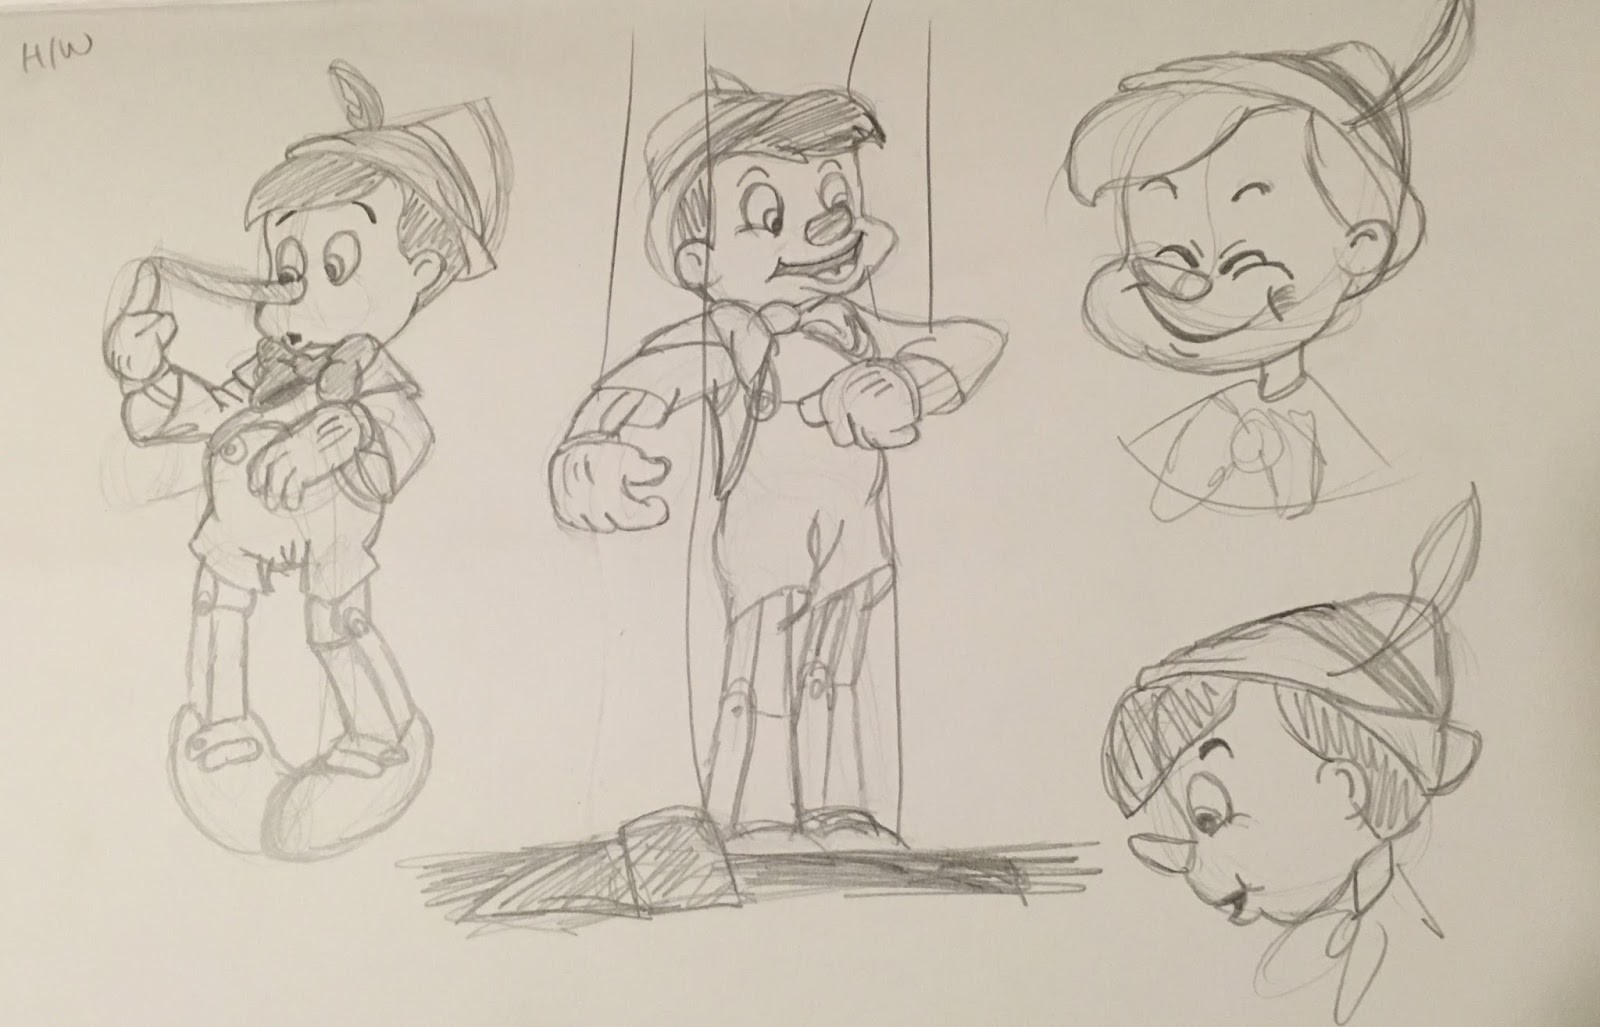
Pinocchio model sheet homework.
 |
| Experimenting with hats on Pinochio |


Warm up poses using a ball.
Dirk.
Looking at the models pose and trying to draw Dirk based of that pose was very hard for me.
But as I did each pose I found it getting a lot easier.

Looking at the model sheet of Dirk really helped during this life drawing class.
 |
| More Pinocchio poses. |
Mad Mim.
Warm up poses.


The same applies to Mim I feel I need a lot more practice with drawing the character. What could have made me improve if i had of done a rotation of Mad Mim before hand so I could get an understanding of her basic shapes.

 |
| My Version. |
 |
| Mikes work: trying to showcase to me Mims body shape. |
Final weeks:
My Character Design.
I was struggling to come up with a character, so i took to the internet for inspiration and came across a basic shapes model sheet of all these different types of body styles. I choose one and then designed my ballerina character on top of it.

Due to the reading list and the previous classes I can say I feel a lot more comfortable to draw someone sitting in a chair.
I really struggled with her face as I'm really not used to drawing human like characters but I wanted to challenge myself and I don't think it turned out too bad.
Hands and feet class.
On our last life drawing class we focused on hands and feet. Too my surprise I really enjoyed this class because initially I thought it was going to be really hard to achieve a realistic hand or foot. But Mike did an amazing job in breaking it down to the basics and doing demonstrations with the skeleton.

Overall, I feel I have improved greatly in comparison to when I first started. I will admit I still need practice when it comes to perspective but I do feel I have a better understanding than I did before. I found myself at the start not looking forward to class as it was still a struggle for me but as time went on I was looking forward to the next time to learn more. Lastly, I honestly feel life drawing has helped me observe and analyse what I am going to draw before I actually draw it. It has benefited me greatly in terms of understanding what goes into the creation of a character and the importance of its basic structure so that it stays uniform throughout.


